How is Soap made?
Share
There's something magical about handmade soap that exudes luxury, nourishment, and a unique touch. One of the oldest and most revered methods of soap-making is the cold process. This artisanal technique transforms a blend of natural oils and lye into beautiful bars of soap. Join us on a journey to discover the art and science behind crafting cold process soap.
Cold process soap-making is a traditional technique that relies on a chemical reaction between fats and an alkaline solution (usually sodium hydroxide or lye). The process does not involve external heat, making it stand out from other methods like hot process and melt-and-pour.
Materials Needed
Oils and Butters: A selection of high-quality, skin-nourishing oils and butters are used as the base for the soap. Common oils include olive oil, coconut oil, palm oil, shea butter, and more. Each oil contributes its unique properties to the final product.
Lye Solution: Lye is a caustic substance that must be handled with extreme caution. When mixed with water, it creates a lye solution that acts as the saponification agent, converting oils into soap.
Distilled Water: Using distilled water helps ensure the purity of the soap and prevents any unwanted impurities from affecting the final product.
Essential Oils or Fragrances: For scenting the soap, essential oils or fragrance oils are added to the mixture, imparting delightful aromas.
Additives and Colorants (Optional): Various natural additives, like herbs, clays, or exfoliants, can be included to enhance the soap's properties and visual appeal.
Tools: Golves, safety glasses, apron, scale, infrared Temperature, immersion blender, silicon spatula, soap mold
The Soap-Making Process
Step 1: Safety Precautions
Before starting, ensure you're wearing appropriate safety gear such as gloves, goggles, and a long-sleeved shirt to protect yourself from accidental lye splashes. This the most important step. Soapmaking is very dangerous. You should always were protective safety gear when making soap, regardless of skill level.
Step 2: Measuring Ingredients
Accurate measurements are crucial for a successful batch. Weigh the oils, butters, and lye according to your recipe, and set aside any colorants, additives, or essential oils for later stages. Once you have a recipe you would like to use, ALWAYS insert the recipe into a soap recipe calulator to ensure balance. It would also give you additional information (Hardness, Cleansing, Conditioning, Bubbles, etc.). I reccommend soapcalc.net.
Step 3: Mixing the Lye Solution
In a well-ventilated area, carefully add the lye to distilled water, never the other way around. Stir gently until the lye is fully dissolved, and allow the mixture to cool down. The fumes in the initially will be strong. I reccommend turning on hood vent or open a door/window.
Step 4: Melting and Combining Oils
Melt the solid oils and butters, and then combine them with the liquid oils. Mix until a uniform blend is achieved. You can melt your oils and butter using the double-boiler method.
Step 5: Blending the Oils and Lye Solution
Slowly pour the lye solution into the oils while stirring continuously. This begins the saponification process, where the oils and lye react to form soap.
Step 6: Reaching Trace
As you stir, the mixture will go through various stages, known as "trace." Trace is reached when the soap batter thickens to the point where you can see your stir marks. This signifies that the saponification process is well underway. Once you reach trace, stop mixing. The batter will continue to get thicker and thicker, if you continue to blend/mix.
Step 7: Adding Colorants, Additives, and Fragrances
If using colorants, essential oils, or any additives, this is the time to incorporate them into the soap batter. Mix thoroughly to ensure even distribution. Some additives and fragrances will cause the batter to accelerate, rice, or seize up.
Step 8: Molding
Pour the soap batter into your chosen molds, ensuring they are clean and lined if necessary. Smooth the top with a spatula and tap the molds gently on a surface to remove air bubbles.
Step 9: Curing
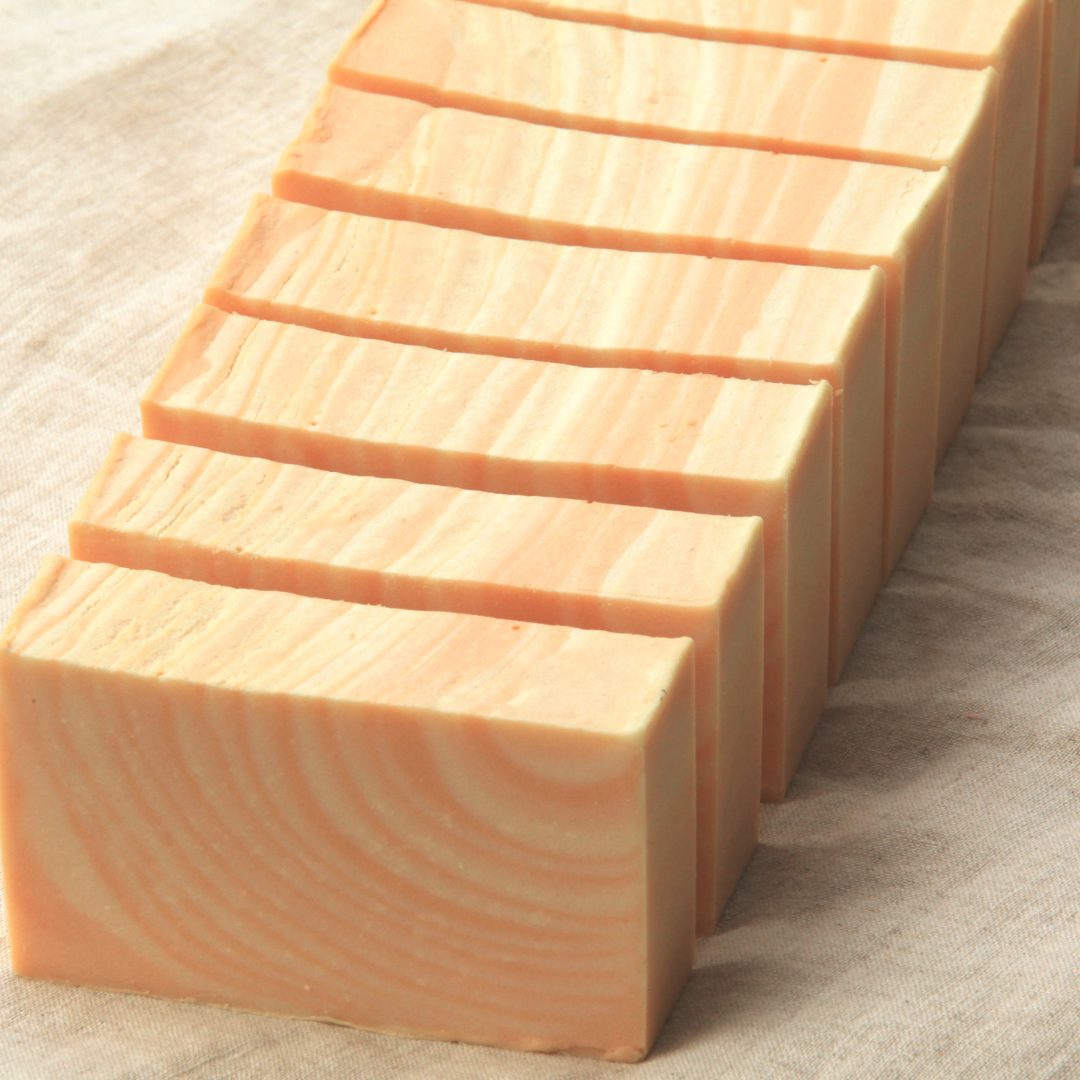
Allow the soap to sit in the molds for 24 to 48 hours. After that, unmold and cut it into bars. Place the cut bars on a drying rack in a cool, dry place with good airflow to cure for 4 to 6 weeks. Curing allows excess water to evaporate, resulting in a harder, milder, and longer-lasting bar of soap. Your soap may need to remain in the mold longer depending on yor recipe.
Crafting cold process soap is an exquisite blend of science and creativity. Through this traditional method, artisans create beautiful, skin-loving bars with unique characteristics and fragrances. If you're ready to embark on a soap-making adventure, remember to prioritize safety, precision, and patience to achieve the best results. Happy soap-making!
